

Affiliate disclosure: This article contains affiliate links. If you purchase through them, we may earn a commission at no additional cost to you. As an Amazon Associate I earn from qualifying purchases.
The first spoonful makes a lovely photo, but the useful preparation happens before the camera comes out. Starting solids is about readiness, suitable food and a safe mealtime setup rather than reaching a milestone before someone else.
You will learn seven checks covering development, seating, texture, nutrition, allergies and the first meal. The final check gives you a small plan you can use on an ordinary day. The immediate answer: CDC guidance places the start around six months when a baby is developmentally ready, and does not recommend starting before four months.
Discuss timing and feeding concerns with your pediatrician, especially with prematurity, medical needs or allergy concerns. Supervise meals closely. Breathing difficulty or a severe allergic reaction needs emergency help. Learn infant choking first aid before you need it.
Starting solids: practical checks and next steps
1. Check readiness as well as age
CDC readiness guidance includes head and neck control, sitting with support as appropriate, opening the mouth for food and swallowing rather than pushing food back out. A birthday or interest in your plate alone does not establish readiness.
If you are unsure, bring the question to your pediatrician. Starting solids is not a race. Choosing a suitable time is more useful than trying to recreate another baby’s first-meal photo or assuming an early start will solve sleep problems.
2. Plan an upright, supervised meal
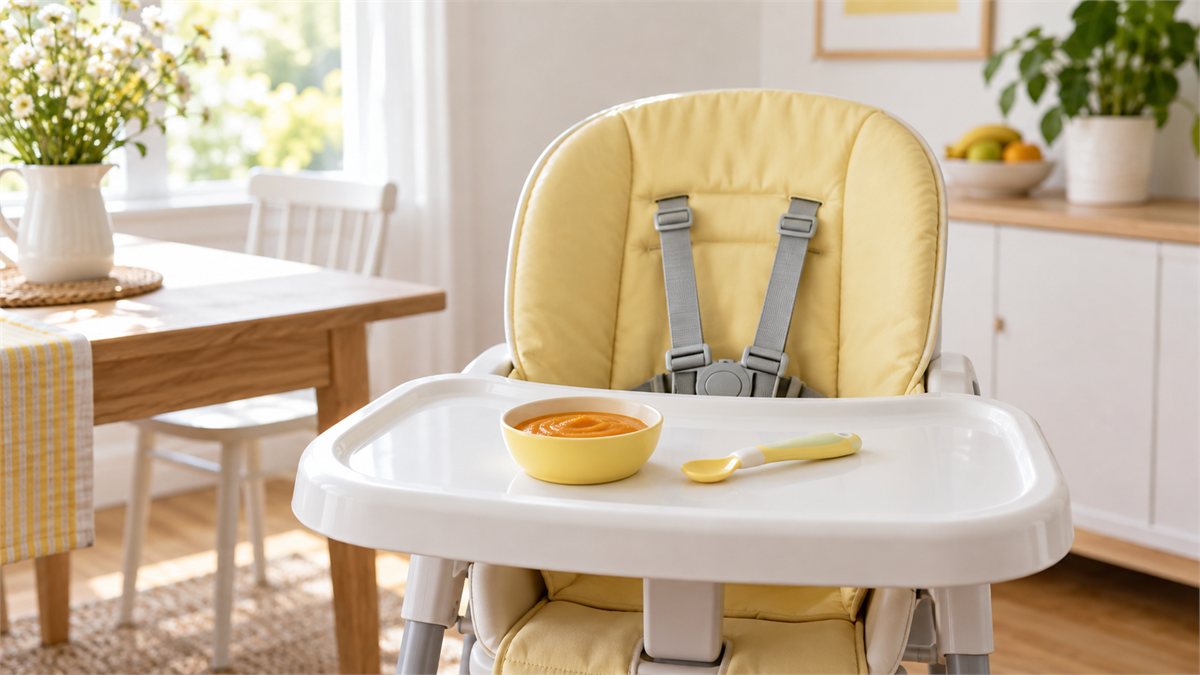
Use an appropriate seat and an upright position for eating. Stay close and pay attention throughout the meal. Avoid offering food while a baby is reclined, moving around or in a setting where you cannot watch carefully.
Put your phone aside once the photo is taken. The first meal is a learning experience for both of you, and observing how your baby handles food is more valuable than getting a perfect image. Follow the seating product’s instructions and limits.
3. Match texture to your baby’s abilities
Choose food prepared for your baby’s developmental skills. There is no need to select a fashionable feeding style before you understand the texture and size that are appropriate. Your pediatrician can help with individual questions.
AAP choking guidance identifies hard and round foods as hazards, among others. Whole grapes, nuts and similar foods are not beginner foods in their original form. Preparation matters, and a product described as baby-friendly still needs a careful safety check.
4. Keep milk feeding in the picture
Solids are introduced alongside breast milk or formula rather than instantly replacing milk feeds. Ask your care team how to fit food into your baby’s existing feeding pattern. Early meals are opportunities to explore, not a requirement to finish a large portion.
Choose a time when your baby is comfortable and you can give the meal attention. If the first attempt is brief or messy, that is information for the next attempt. It does not mean the milestone has failed.
5. Think about nutrients, not just sweetness
Discuss iron-rich options and variety with your pediatrician. The first-food decision does not have to be reduced to a competition between one fruit and one vegetable. A suitable food and texture can be part of a varied plan.
Use plain descriptions when planning meals: what the food is, how you will prepare it and why it fits your baby’s current skills. Avoid adding honey before 12 months, and review current infant nutrition guidance for foods and drinks to avoid.
6. Make an allergy plan before introducing foods
Ask your pediatrician about introducing allergenic foods, particularly if your baby has severe eczema or an existing food allergy. Do not postpone the conversation until you have already bought a large set of foods.
Know what you are offering and how to recognize a concerning reaction. Food notes can help you explain an event clearly. They should support observation rather than make every meal feel like a medical experiment. Seek urgent help for breathing problems or a severe reaction.
7. Keep the first-meal plan small
Choose one suitable food, prepare an appropriate texture and make sure the seating and supervision are ready. Let your baby explore without pressure to finish. Put the practical supplies nearby so you can stay attentive.
Afterward, note what went well and what you want to ask. This final check is the payoff: a simple meal you can manage again. Starting solids becomes easier to approach when you focus on a safe process rather than the quantity eaten on day one.
What you need before you buy more feeding gear
A long shopping list is optional. Start with a suitable seat, a way to offer appropriate food and a cleaning routine. A spoon or bib can be convenient, but it cannot replace readiness or supervision.
Compare utensils by size, material, cleaning instructions and how they fit the intended use. If a product seems to encourage a skill your baby is not ready for, choose a different approach. Equipment should fit the baby and the meal, rather than setting the timetable.
Keep a small record when starting solids
When starting solids, write down the food, how it was prepared and any question that came up. This is particularly useful when more than one caregiver offers meals. A clear description makes the next meal or professional conversation easier to plan.
A record for starting solids does not need to score how much the baby ate. Note useful observations without pressuring a finish. If something seems concerning, follow medical advice rather than repeatedly offering the same food to test what happens.
Treat starting solids as a process you can review. Keep readiness, texture and supervision at the center, and ask for help when a question is specific to your baby. A small meal plan is easier to repeat safely than a long list of foods and equipment.
An optional product to consider
The listing describes flexible silicone, a rounded handle, a deep spoon head and an anti-roll design. Match any utensil to your baby’s abilities and supervise every meal. A spoon purchase is optional and does not establish readiness for solids.


Questions parents are asking
What solids should I introduce first?
Choose a developmentally suitable texture and discuss a varied plan, including iron-rich foods, with your pediatrician. There is no single compulsory first food for every baby.
Can my 4 month old start solids?
CDC guidance is around six months when ready, and not before four months. Being four months old alone does not show readiness. Discuss your baby’s situation with the pediatrician.
What foods can a 4 month old eat?
First establish whether starting is appropriate. Food selection and texture should follow readiness and individual advice, rather than a generic list for every four-month-old.
Can I start solids at 5 1/2 months?
Readiness and your baby’s individual circumstances matter. Discuss timing with your pediatrician instead of deciding from age alone.
Your practical next-step checklist
-
Readiness
Confirm developmental readiness and any individual advice.
-
Setup
Prepare upright seating, close supervision and an appropriate texture.
-
First meal
Offer without pressure and record questions for your next discussion.
Keep learning
Paced Bottle Feeding: 5 Simple Steps That Follow Baby’s Cues. Use the related guide for the next question rather than trying every change at once.
Sources and editorial notes
This is general educational information, not individual medical advice. iBabyMama has not clinically tested these products. Sources and product listings were checked on October 7, 2026.
CDC introducing solids | AAP starting solid foods | AAP choking prevention
Topic inspiration: What to Expect. Written independently and checked against the healthcare sources above. Read our affiliate disclosure.