

Affiliate disclosure: This article contains affiliate links. If you purchase through them, we may earn a commission at no additional cost to you. As an Amazon Associate I earn from qualifying purchases.
The book is finished, but your child wants to stay in the story. Book crafts for kids can turn that enthusiasm into one small project: a bookmark, a puppet or a tiny book of their own.
Here are ten ideas you can adapt to the story on your shelf, without buying a themed kit or recreating an illustrator’s artwork. You will learn how to choose a project, prepare the pieces and keep the conversation going. At the end, use the read, make and retell plan to put it together.
For a quick start, fold a sheet of paper into a card and ask your child to draw the place where the story happened. A picture and a few spoken words are enough. The goal is a connection with the story, not a perfect finished object.
Use child-labeled supplies, check warnings and supervise throughout. An adult should handle cutting. Keep glue, caps and scraps out of mouths, then wash hands. See the CPSC art and craft safety guide.
Choose book crafts for kids that fit the reader
Pick a familiar book and one detail your child noticed. A younger preschooler might focus on a color, animal or repeating sound. An older child might choose a character’s problem, a change of setting or a different ending. There is no need to quiz them on every page before starting.
Offer two projects rather than laying out all ten. A choice between a bookmark and a puppet is easier to act on than a table full of possibilities. If your child is still mouthing materials, skip loose pieces and use an adult-led drawing activity instead.
Set out one sheet for the project and another for experiments. A practice page makes it easier to try a face, mark or fold without feeling that the real project is spoiled. Read the supplies’ labels, and let the adult prepare any difficult cuts.
1. Make a setting bookmark
Use a broad paper rectangle. Ask your child to draw the forest, bedroom, sea or city from the story. Add one large shape or a stripe that reminds them of a favorite scene. Leave off dangling strings and small decorations.
Once it is dry, slide it between the pages you want to read next. A bookmark can simply hold a place; it does not need to look like a store-bought accessory. Invite your child to tell you why they chose that setting.
2. Fold an accordion retelling book
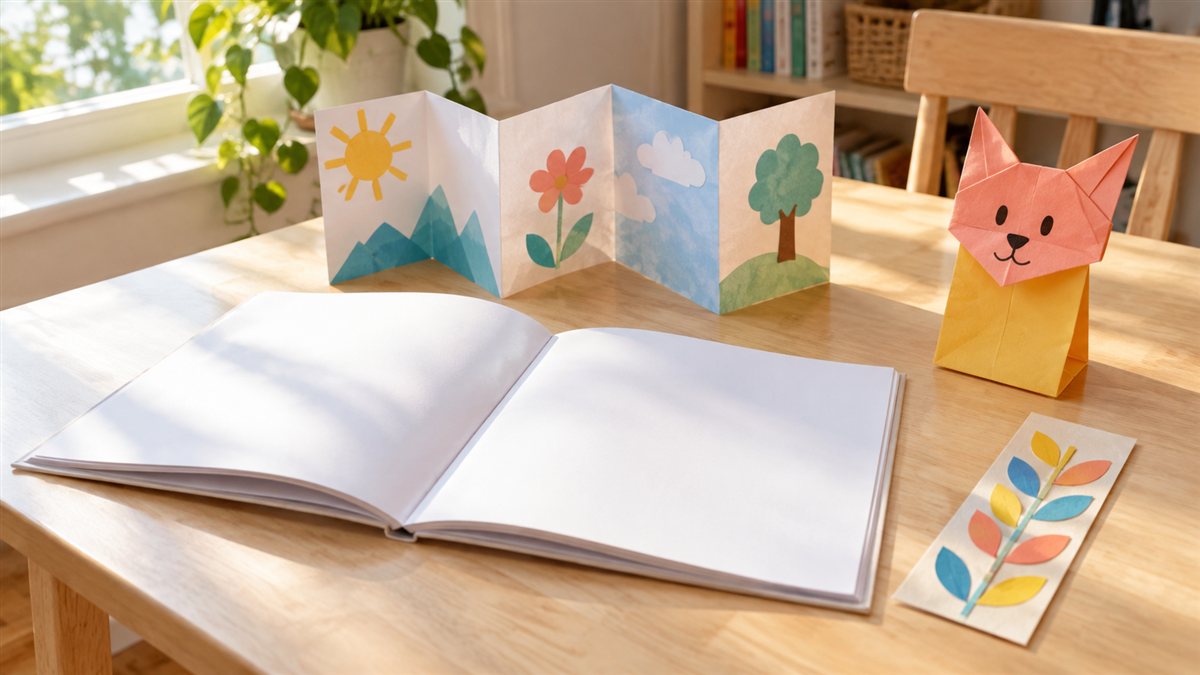
Fold a wide paper strip back and forth into a few panels. The adult can do the first folds, then open it flat for drawing. Use one panel for the beginning, another for a problem and another for what happened next.
Keep the panels blank if your child would rather tell the story aloud. Later, write down a sentence they dictate under each drawing. This preserves their version of the story without making handwriting a condition of joining in.
3. Build a paper-bag story puppet
Choose a clean paper bag and draw a simple face on its flap. Add broad flat paper ears, hair or a hat if those details suit the story. Use original shapes rather than tracing a published illustration.
Let the child decide what the puppet says. It might retell a scene, ask another character a question or explain its feelings. Stop if wearing the bag or handling the decorations becomes awkward; a flat paper character works too.
4. Design a character collage
Start with a large body shape. Offer two or three broad paper pieces for clothing, wings or paws, then draw the smaller features. Ask which detail helps another reader recognize the character.
A collage made mostly by an adult can look polished while leaving little for a child to decide. Leave choices open: the character may have a different hat, a new color or an invented companion.
5. Create a story map
Draw a simple route between two or three places in the book. A line can connect a house, bridge and garden. Add broad paper shapes or crayon marks for landmarks.
Move a large paper character along the map as you retell the journey. The route need not match a real map. Use it to talk about what happened at each place, rather than to test exact recall.
6. Make a paper reading crown
An adult can prepare a broad paper band to fit comfortably, secured without staples or dangling ties. Your child can decorate the band with large drawings of things from the book.
Try calling it a storyteller crown rather than assigning a character. A child who dislikes wearing things can keep the decorated band flat as a shelf sign. Participation should not depend on a costume.
7. Draw a new cover
Fold a paper card and invite your child to design a cover for the story. They can choose one scene, a single character or an abstract pattern. Write the title they suggest, even if it differs from the published one.
Ask what their cover tells a new reader. Keep the real book intact, especially if it belongs to the library. A separate card is a way to explore design without altering borrowed pages.
8. Create beginning and ending cards
Use two large cards. Draw a picture from the opening on one and a picture from the ending on the other. Arrange them in order and ask what changed between them.
If sequencing feels too demanding, let your child choose two favorite moments instead. You can name the order together while they point, move the cards or describe what they remember.
9. Make a folded recommendation card
On the front, draw something that would make a friend curious about the book. Inside, record one reason your child enjoyed it. A grown-up can write the words exactly as the child says them.
Send a photo of the card to a relative or bring it to the next library visit. This creates a real audience for the project. Avoid sharing a child’s full name or other private details in a public post.
10. Invent a sequel mini book
Fold a sheet into a small booklet. Ask one open question: what might the character do tomorrow? Fill a few pages with the child’s drawings and dictated words.
An invented sequel brings the earlier activities together. The child can reuse a setting from the bookmark, a character from the puppet and a route from the map. One new event is enough for a complete little story.
Optional supplies to compare
Start with what you already own. These are examples of supplies for different jobs, not a required shopping list. Check the current package, age label and quantity before ordering.
Assorted construction paper for folded books, flowers and cut-paper pictures. The observed bulk pack is 480 sheets in ten colors, 9 by 12 inches. Check whether this quantity fits your storage and choose smaller quantities if needed.


A paper-craft adhesive that goes on purple and dries clear. The observed pack includes three 22 gram sticks. Follow the label and supervise use; caps and glue are not play or food items.


Twelve extra jumbo crayons for drawing faces, story pictures and paper firework bursts. The observed listing describes a thicker format for kindergarten and primary-school use. Follow the actual age label, supervise coloring and remove broken pieces.


A simple plan for book crafts for kids
Choose one book and one project before you start. Read first, talk about a detail your child noticed, then put out only the materials that project needs. Leave the rest of the supplies stored away.
Read, make and retell
-
Read together
Pause at a picture your child wants to discuss, rather than interrupting every page.
-
Make one connection
Use a setting, character or event as the starting point for a small paper project.
-
Retell in their own words
Invite your child to use the craft to explain a moment or invent what happens next.
Keep the finished piece with the book if your child wants to use it again. If they prefer to recycle it, take a photo first only if they agree. The conversation and choices can matter more than keeping every object.
Book craft questions
What are some good books and craft ideas for preschoolers?
Choose a familiar picture book and pair it with a setting bookmark, simple character collage or paper puppet. Use a story your child enjoys; a library copy works well.
What are some easy bookish crafts I can do?
A folded recommendation card, new cover or two beginning-and-ending cards needs little more than paper and a drawing tool. Let an adult write dictated words if needed.
What are some fun craft ideas for Book Week for toddlers?
Try an adult-prepared large paper character or a broad drawing page inspired by a favorite story. Choose materials for the child’s age and behavior, and avoid loose small decorations.
What are some art projects that can be based on children's books?
Story maps, setting pictures, original character collages and sequel mini books can all begin with a book. Draw original images rather than copying an illustrator’s pages.
Your next storytime
- One familiar book.
- One manageable project.
- One chance to explain their own idea.
Choose the project that leaves your child something to say. Book crafts for kids work best when the finished piece helps them remember, retell or change a story.
For another creative session, explore our pet crafts for kids. This topic was inspired by Maternity Comfort Solutions; the project variations and instructions above are original iBabyMama editorial suggestions, not a reproduced tutorial collection.